Switching Between WCP Management Options
From Hostek.com Wiki
In this tutorial we will show you how to switch between the different WCP Management Options available to you inside your control panel.
This tutorial assumes that you are already logged in to WCP. You can see our tutorials on logging in or recovering your password if necessary.
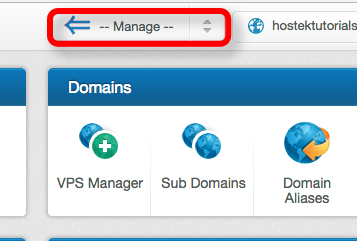
- In the top-navigation menu of the WCP control panel click on the drop-down for 'Manage.'
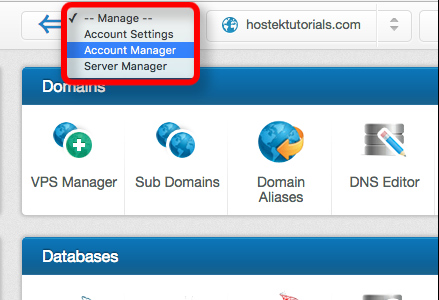
- Now you can click on the menu option for whichever management access you want the control panel to go to. The options are listed below with a summary of what each lets you manage:
- Account Settings - Allows you to see account logs and settings for the domains in your accounts control. If major settings were changed via the control panel then those should show up in the 'Account Logs' on this page. This management section also gives you a run-down of the different domains under the main accounts ownership, etc.
- Account Manager - The 'Account Manager' section gives you control of all the re-seller settings and controls. You can create customer accounts to assign your domains to so your customers can login with their e-mail address and password and manage websites you assign under their control. You also having reseller branding settings available to you which you can read more about in the WCP Account Management category.
- Server Manager - The 'Server Manager' section gives you control over all the most common server settings that you'd need to touch or update as well as some other awesome features such as the Windows Firewall, Windows Updates, Rebooting Server, Global FTP Users, and so much more. This section of the WCP control panel also allows you to list all domains across your server(s) with us and allows you to add additional domains. For more information on this see the WCP Server Management category.

