Create and manage subdomains via WCP
In this tutorial, you'll learn how to create and manage subdomains in WCP.
This tutorial assumes that you are already able to login to WCP. Please see our tutorials on logging in or recovering your password if necessary.
Contents
Add a Subdomain
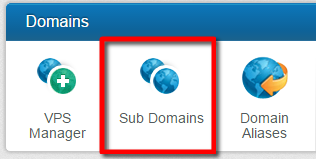
In the 'Domains' section, click the 'Sub Domains' icon.
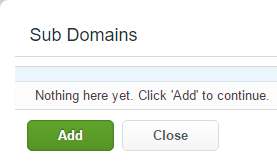
If you have any existing sub-domains for the site they will show up here. Click the 'Add' button to add a new sub-domain.
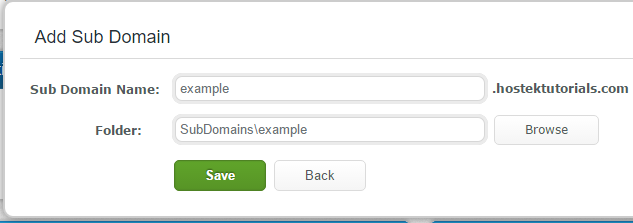
In the field for 'Sub Domain Name' enter the name of the sub-domain that you wish to create. In the field for 'Folder' enter the desired path you want this sub-domain to pull it's files from.
Notes: You can also click the 'Browse' button next to the 'Folder' field and choose an existing directory.
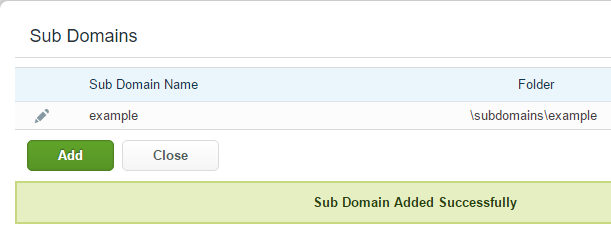
The sub-domain should now successfully be added and you should see it listed in your list of existing sub-domains
If you ever need to update the folder the sub-domain points to click the pencil icon next to the sub-domain to edit the sub-domains folder location.
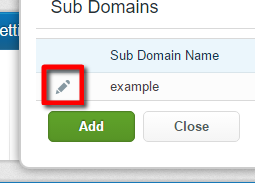
Note: The testing URL for the sub-domain can also be found by clicking this pencil icon next to the sub-domain.


Remove a Subdomain
In the "Domains" section, click the "Sub Domains" button.
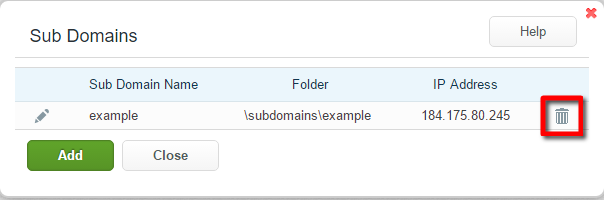
Click on the trash can icon next to the sub-domain you would like to remove.
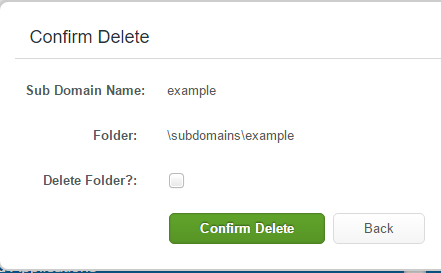
If you would like to delete the folder the sub-domain is assigned to, then click the 'Delete Folder' checkbox. When you're ready to delete the sub-domain click the 'Confirm Delete' button.
Note: Please be cautious when deleting the folder this sub-domain is assigned, because if anything else in your site is using resources in this folder then you're likely to remove content from your site.