Manage ASP.net Settings
Managing ASP.net Settings via WCP
First login to your WCP control panel for the account the domain is under: https://wcp.hostek.com

If you have any issues with logging into WCP then please see our tutorials on recovering your password if necessary
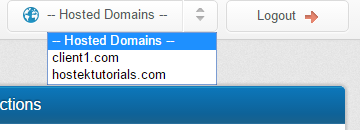
Once logged into WCP if you have multiple domains you may need to select the appropriate domain to manage using the 'Hosted Domains' drop-down in the top-right of the page as shown in the screenshot below:
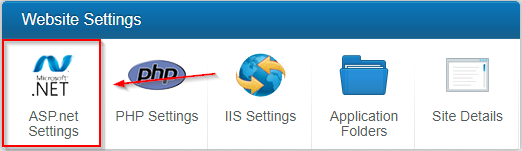
You will then click on the ASP.net Settings Icon
You will then be presented with a list of your domain and it's subdomains
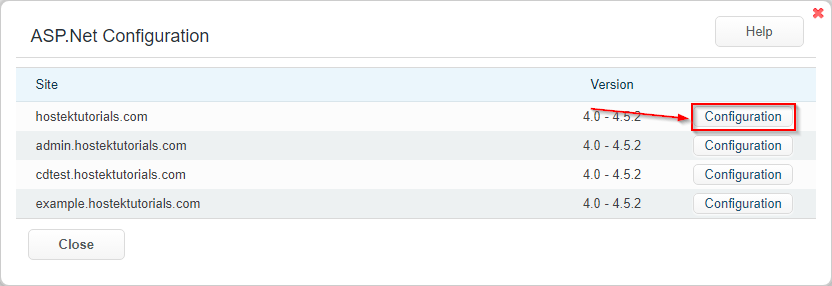
Click on the configuration button for the site you would like to configure.
You will then be presented with a new box with multiple options to configure. Listed below are explanations of each option.
== Site Name ==
This field is self-explanatory. This will list the site name that is currently being configured
- ===ASP.Net Version===

This field allows you to choose between 2.0/3.5 and 4.0-4.5.2 versions of ASP.Net
- ===Managed Pipeline===


