Manage PHP Settings
Managing PHP settings via WCP
First login to your WCP control panel for the account the domain is under: https://wcp.hostek.com
If you have any issues with logging into WCP then please see our tutorials on recovering your password if necessary
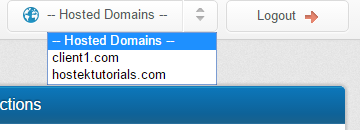
Once logged into WCP if you have multiple domains you may need to select the appropriate domain to manage using the 'Hosted Domains' drop-down in the top-right of the page as shown in the screenshot below:
You will then click on the PHP settings Icon
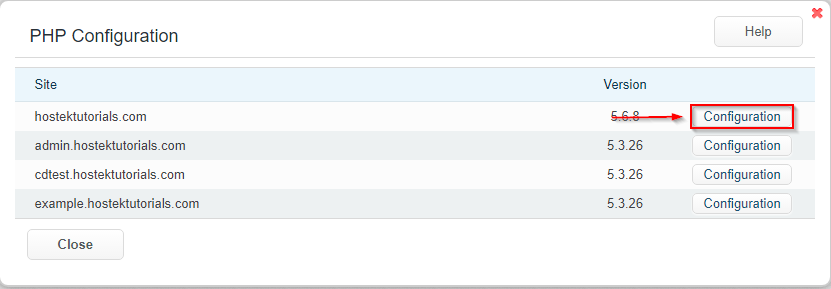
You will be presented with a list of your domain and its subdomains
Click on the configuration button for the site you would like to configure.
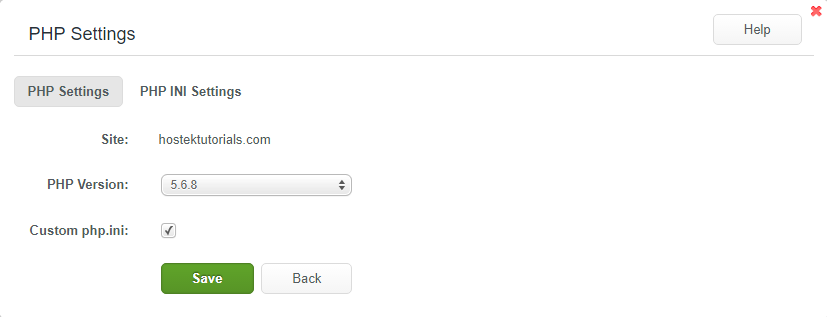
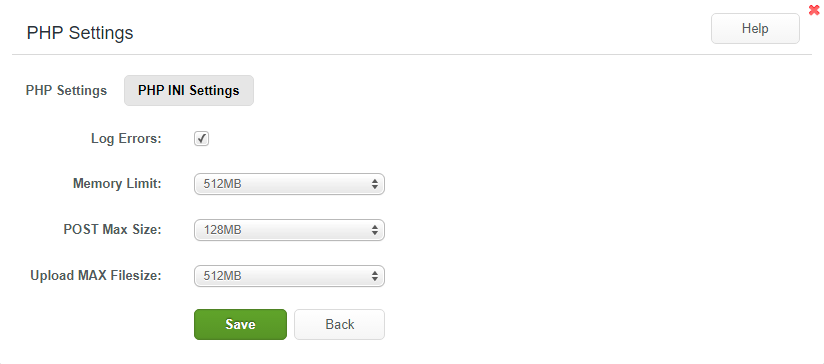
A box will open that contains general configuration options as well as another tab for php.ini options
Site: The domain name that you are editing the php settings for.
PHP Version: In this field you will be able to select from all the php versions available on the server your site is hosted on.
Custom php.ini: If this is checked, php options will be pulled from the php.ini located within the root folder.
Log Errors: Enabling this option will log errors to the location specified within the php.ini file.
Memory Limit: This sets the maximum amount of memory in bytes that a script is allowed to allocate.
POST Max Size: This sets the max size of post data allowed. This settings will also affect file uploads. This value must be larger than the upload_max_filesize.
Upload MAX Filesize: This is the maximum size of an uploaded file.


