How to add WordPress plugins
Contents
WordPress Plugins
WordPress at its core offers the ability to create an easy website and manage and create blogs and blog categories. To extend the list of available features your WordPress site offers you can add plugins.
- A Plugin is adding a functionality to your website like a widget. It allows for you to extend and expand the already existing functionality of your WordPress site.
It is very important that you keep WordPress and it's plugins/themes updated to the latest version at all times. You can view our wiki article on updating wordpress if needed.
Just as an example you may want to add a captcha to your WordPress forms to prevent attackers from exploiting those insecure forms. There are a lot of available plugins in the WordPress Plugins directory that you can choose from. Let's show a couple ways below that we can find and install one of these plugins:
Installing a plugin via WordPress dashboard search
WordPress at its core allows you to search it's known list of available plugins directly within the WordPress Plugins directory. I'd like to point out that not all plugins are known to WordPress as some plugins you have to obtain directly from the plugin developer and install manually as shown in the below section for installing plugins manually.
1. To find the desired plugin (A captcha plugin in this example) login to your WordPress Dashboard.
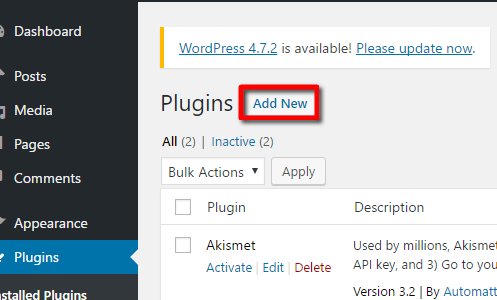
2. Once logged in click on the "Plugin" option from the left-hand size navigation menu as shown in the screenshot below:
3. Now click on the "Add New" button to search for a new plugin as shown in the screenshot below:
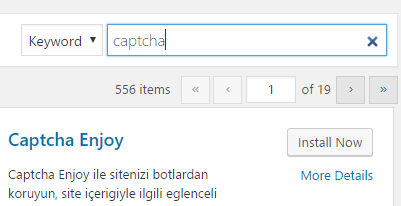
4. Now in the top-right of the page you should see a search box to search for the plugin you're interested in. As shown in the screenshot below we searched for 'captcha' and it came up with 556 items that matched that search!
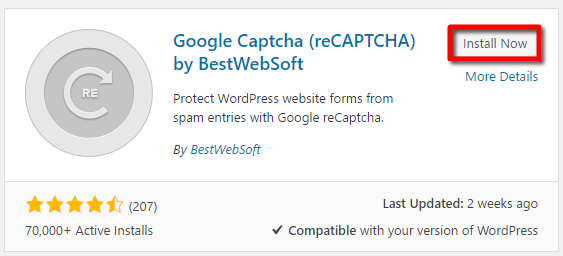
5. Now search through the results for the desired plugin. Once you're satisfied with a plugin just click on the "Install" button next to the plugin as shown in the screenshot below:
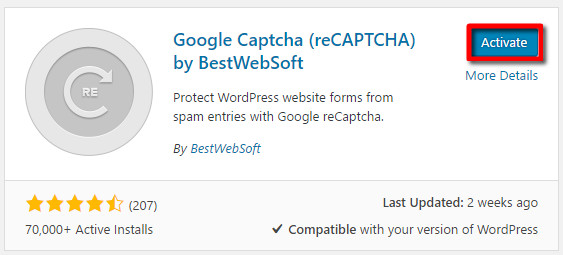
6. The plugin will then download from WordPress repository and the "Install" will then change to a "Activate" button so you can activate the plugin as shown in the screenshot below:
It is important to know that you can have as many plugins installed as you want.. but only those that are Activated will work on the WordPress site.
Installing a plugin via WordPress dashboard with plugin .zip file
Sometimes a developer of a plugin may give you the actual .zip file itself containing the plugin directory and all it's content so we'll be showing you below how to install the plugin with this provided .zip file.
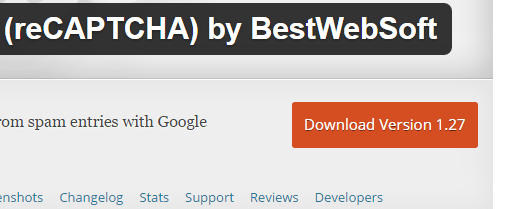
1. First you'll need to obtain the plugin zip file from the developer. They may provide this to you directly or you may find the plugin at the WordPress plugins repository as shown in the screenshot below:
2. You will now need to login to your WordPress Dashboard.
3. Once logged in click on the "Plugin" option from the left-hand size navigation menu as shown in the screenshot below:
4. Now click on the "Add New" button to search for a new plugin as shown in the screenshot below:
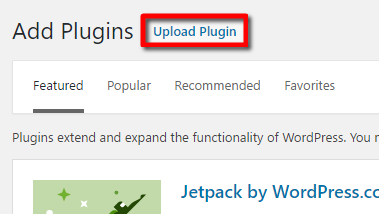
5. Now click on the "Upload Plugin" button as shown in the screenshot below:
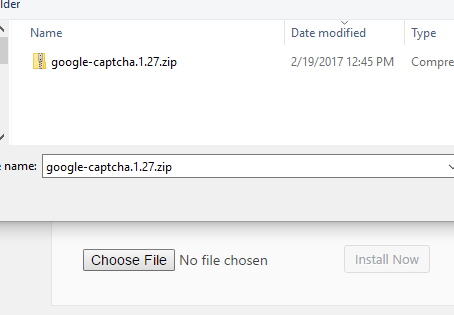
6. Now click "Choose File" and select the .zip file downloaded from the plugin developer as shown in the below screenshot. Then click the "Install Now" button.
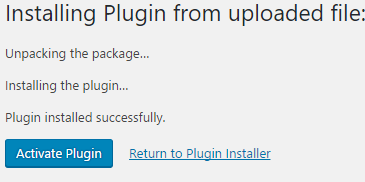
7. WordPress will extract the .zip file into the plugins directory and you should see a screen as shown in the screenshot below where you can then click the "Activate Plugin" button to activate the plugin.
It is important to know that you can have as many plugins installed as you want.. but only those that are Activated will work on the WordPress site.
Installing a plugin manually with plugin .zip file
While most people seem to install plugins easily through the WordPress dashboard some are more interested in installing these manually via FTP, RDP, or other file level access points. We'll show how to do this below:
1. First you must obtain access to your website files so that you can see the files and directories your WordPress site is using. If you are on a shared server then you will not have access to RDP so you'll have to use FTP.
2. Next you'll need to obtain the plugin zip file from the developer. They may provide this to you directly or you may find the plugin on at the WordPress plugins repository site as shown in the screenshot below:
3. Now on your local computer ( or on the server if doing using RDP ) extract the .zip file so that you have the folder structure of the plugin you've downloaded. We'll upload the folder containing the files to the website in the next step.
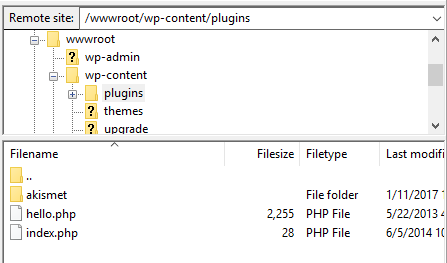
4. Now within whichever application your viewing your files from navigate into the wp-content > plugins directory of the site files as shown in the screenshot below.
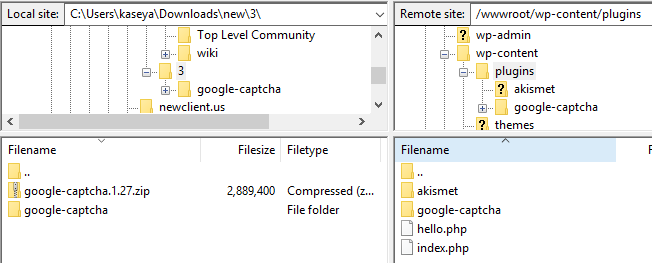
5. Now copy over the directory that you extracted from the .zip file over to this wp-content > plugins directory of the website. See screenshot below of how this should look for example:
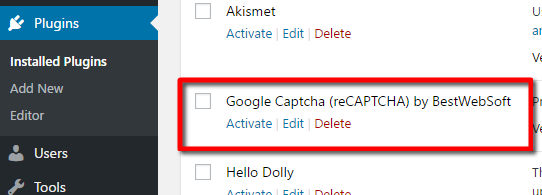
6. The plugin should now be installed on the WordPress site and visible via the WordPress dashboard, however it will not be activated until you go into your dashboard and click "Activate" next to the plugin.
Once again the main WordPress repository for known plugins can be found at the following URL: https://wordpress.org/plugins
