Domain Forwarding(Domain Management)
From Hostek.com Wiki
Revision as of 16:04, 26 July 2017 by Chrisd (Talk | contribs) (Created page with "<h1 id="Domain Forwarding(Domain Management)">Domain Forwarding(Domain Management)</h1> <p>In this tutorial we will be showing how you can setup domain forwarding with your...")
Domain Forwarding(Domain Management)
In this tutorial we will be showing how you can setup domain forwarding with your domain management enabled domain.
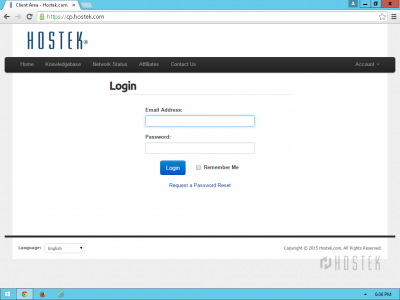
- Login to your Client Area
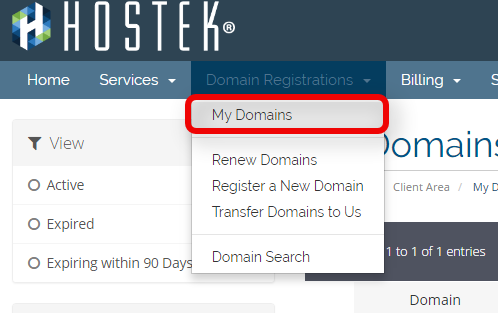
- In the top-navigation menu click on 'Domain Registrations', then click on 'My Domains'.
- You should now see a list of your active, cancelled, and expired domains that you've had in your account as shown in the screenshot below:
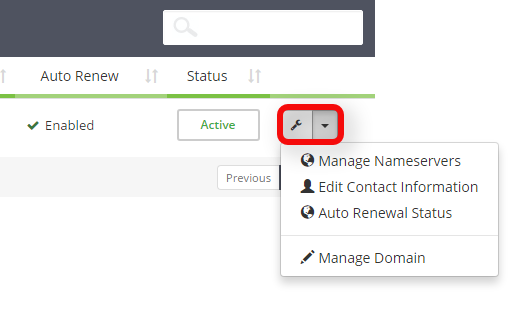
- To the right of the domain you wish to manage click the wrench icon, or select the drop-down and choose 'Manage Domain'.
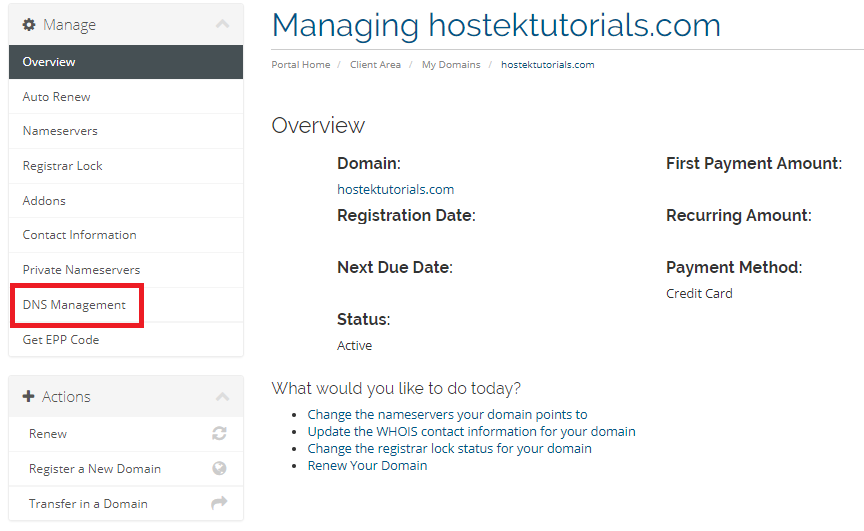
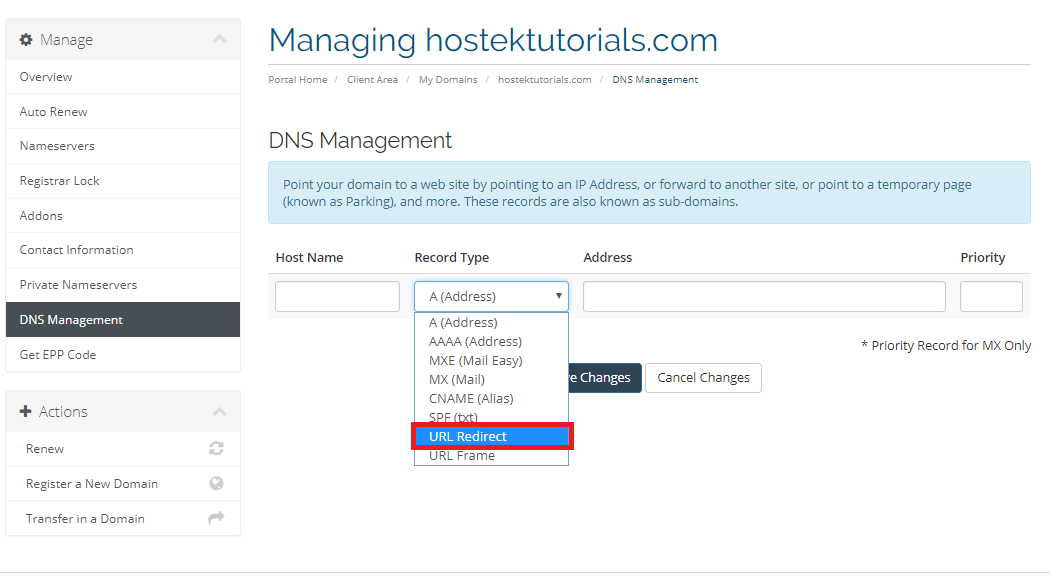
- In the left side menu choose the link 'DNS Management'.
- Click the Record Type drop down and choose 'URL Redirect'.
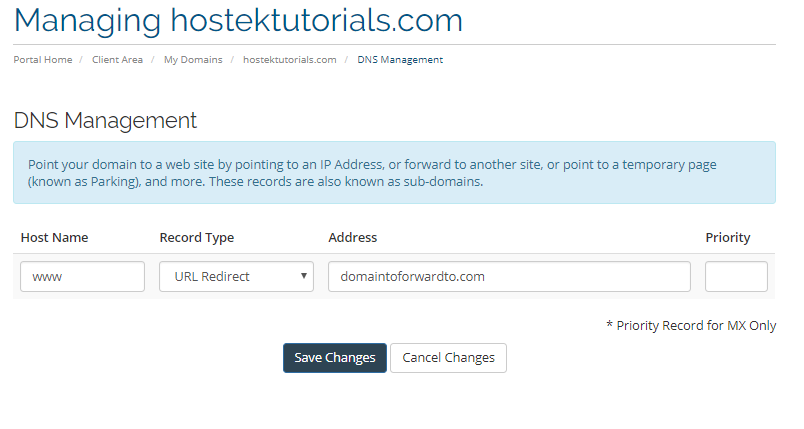
- Enter information for domain to forward to.
- Host Name
- Address
- Priority
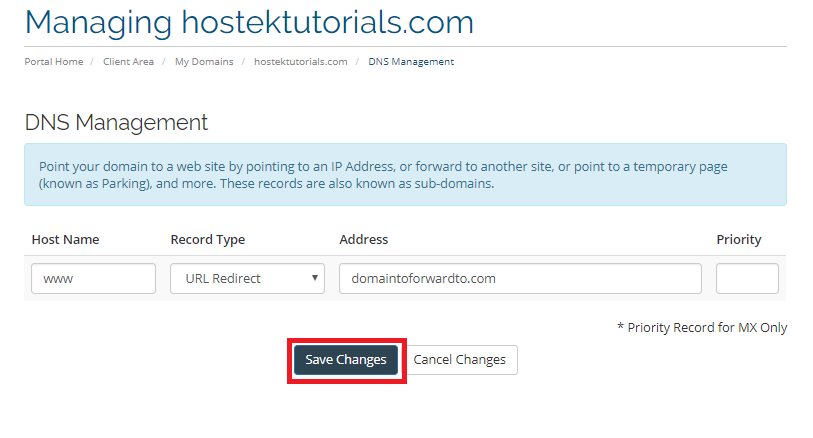
- Click the 'Save Changes' button.
Leave the Host Name space empty if you wish to set the forward for yourdomain.com, enter www in the Host Name space if you wish the redirect to be for www.yourdomain.com.
If you wish to have both the www and non www versions of your domain forward you will need to create a forward for each of these.
Enter the URL that you wish to have your domain forwarded to.
This field is to be left blank as this field is for MX records only
