VPN client configuration
Contents
VMWare SSL VPN-Plus
Download/Install the VMWare SSL VPN-Plus Client
Access your new VPN client portal by going to your new server's IP address using the following URL format:
https://123.123.123.123:4443/sslvpn-plus/
- Accept the SSL Security error and you'll be redirected to the login page (Below). NOTE: the security error is due to no SSL being installed on the server for the VPS/VDS name and IP address at this time. This is an additional feature.
Using the credentials provided to you, via email with support, log-in to download the VPN Client. There will be a link under the List option with the servername-client. After clicking on it, you will be redirected to a download page. NOTE: If after 60 seconds the download does not start click the "click here" link to start the installation.

Installing VMWare SSL VPN-Plus Client
Next, Run the installer. If you get a request to not download/install due to Unknown Publisher please accept then click Run.
Click Yes to the installer. You'll see a progress window showing the install progress.


Logging into VMWare SSL VPN-Plus Client
Now you'll want to log in to your VPN using the SAME credentials provided earlier.


Your connection should now be established

VPN-Plus Client Password Change
Here are the steps to Change Password in VPN-Plus Client
Cisco VPN Client Setup
NOTE: This service is no longer provided to newer customers
Once you are setup with VPN access to your VPSs, you will also be provided with the following details:
- VPN IP address
- Group name and password (will be shared by all users for your VPN)
- Individual usernames/passwords for each user who needs to connect. This will be unique for each person who needs to connect to your VPN.
- Private addresses of each VPS server you have
To access your VPN, you will do the following:
- Ensure that the following conditions are met before proceeding:
- All computers accessing your VPN are running current anti-virus will latest virus definitions and is kept up to date
- All computers accessing your VPN are have all security updates (i.e. Windows updates) installed and is kept up to date
- All computers accessing your VPN are running current anti-virus will latest virus definitions and is kept up to date
- Install the VPN client
- Windows 32-bit version can be downloaded here.
- Windows 64-bit version can be downloaded here.
- MacOSX version can be downloaded here.
- Linux and MacOS users can download the VPN client v5 from cisco.com or can use the IPSec VPN client of their choice
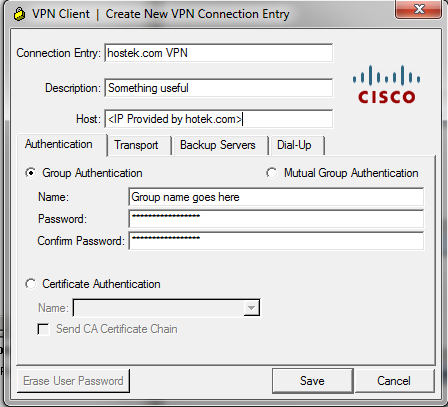
- Once installed, lanch the VPN client and click on the New icon on the button bar at the top. You will be presented with a Create New VPN Connection Entry dialog box. Proceed as follows:
- Connection entry can be named anything you like, as well as the description.
- Host will be the VPN IP address provided to you by hostek.com
- Authentication tab will be the Group name and password provided to you by hostek.com (not your individual username/password). See the following figure:
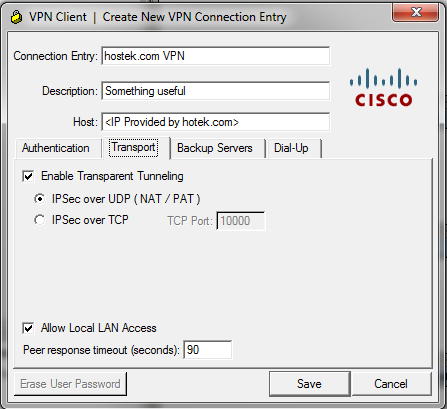
- See the following screen shot for configuring the transport tab. Note that Allow Local LAN Access should be checked or else your computer will not have internet access while you are connected.
- The Backup Servers tab and Dial-Up tab should be left to their defaults.
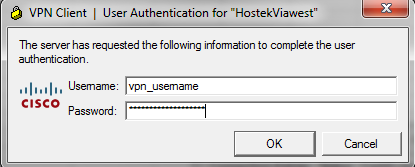
- Once your connection entry is created, select the entry in the VPN client window and click Connect.
- You will be prompted for a username and password. This will be your individual username/password provided to you by hostek.com
- Note For alternate IPSec VPN clients, the IPSec pre-shared key is the group password.