Billing - Manage & Pay Invoices
View and Pay Invoices via Billing Control Panel with Hostek.com
In this tutorial we will show you how to manage your invoices within your billing control panel.
Login to your account at https://cp.hostek.com
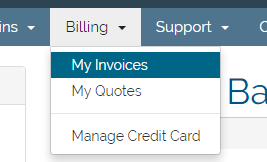
Now in the main navigation menu click the drop-down for 'Billing', then click 'My Invoices'.
Additionally, if you have any over-due invoices on your account then you should see a section on the homepage of your billing control panel labeled 'Overdue Invoices' as shown in the below screenshot. In this case you can click the red 'Pay Now' button and this will take you to the same 'My Invoices' page.
You will now see a list of invoices belonging to your account. You can view the status of each invoice under the 'Status' column, so you can see whether each one has been paid or is yet to be paid, or if the invoice has been cancelled.
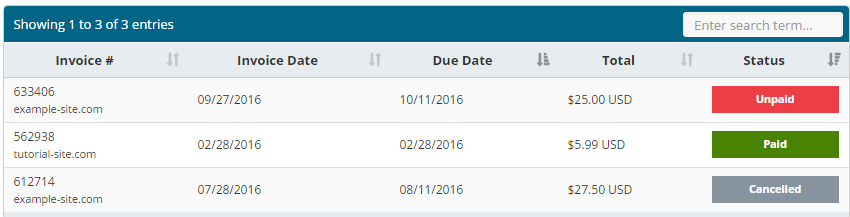
Useful Tip: You can also use the search box in the top-right of the table to filter for keywords including the name of a domain, the invoice date or due date, the invoice total, or even the status of the domain.
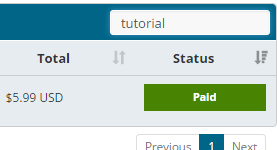
Example below shows only the invoice for 'tutorial-site.com' when we entered 'tutorial' in the search box.
Useful Tip: You can also click the table headers to order the invoices by ascending / descending order.
To view more information on an invoice or to pay the invoice click on the respective invoice field.
You should now be able to see the payment method, amount, and what the invoice generated is for such as hosting, domain registrations, add-ons, ect.
Now go ahead and choose the correct payment method by clicking the drop-down under 'Payment Method'.
Now that you have the payment method you wish to use the top-right of the page should show a 'Pay Now' button if using Credit Card as the payment type and the invoice is unpaid. If you're using PayPal then you should see a 'PayPal Check Out' button instead.
Once the invoice is fully paid then the top-right of the page should show a green 'PAID' text to verify that this invoice has been paid successfully.


